NVMe SSD Hat
Use NVMe SSD Hat on Pi
Overview
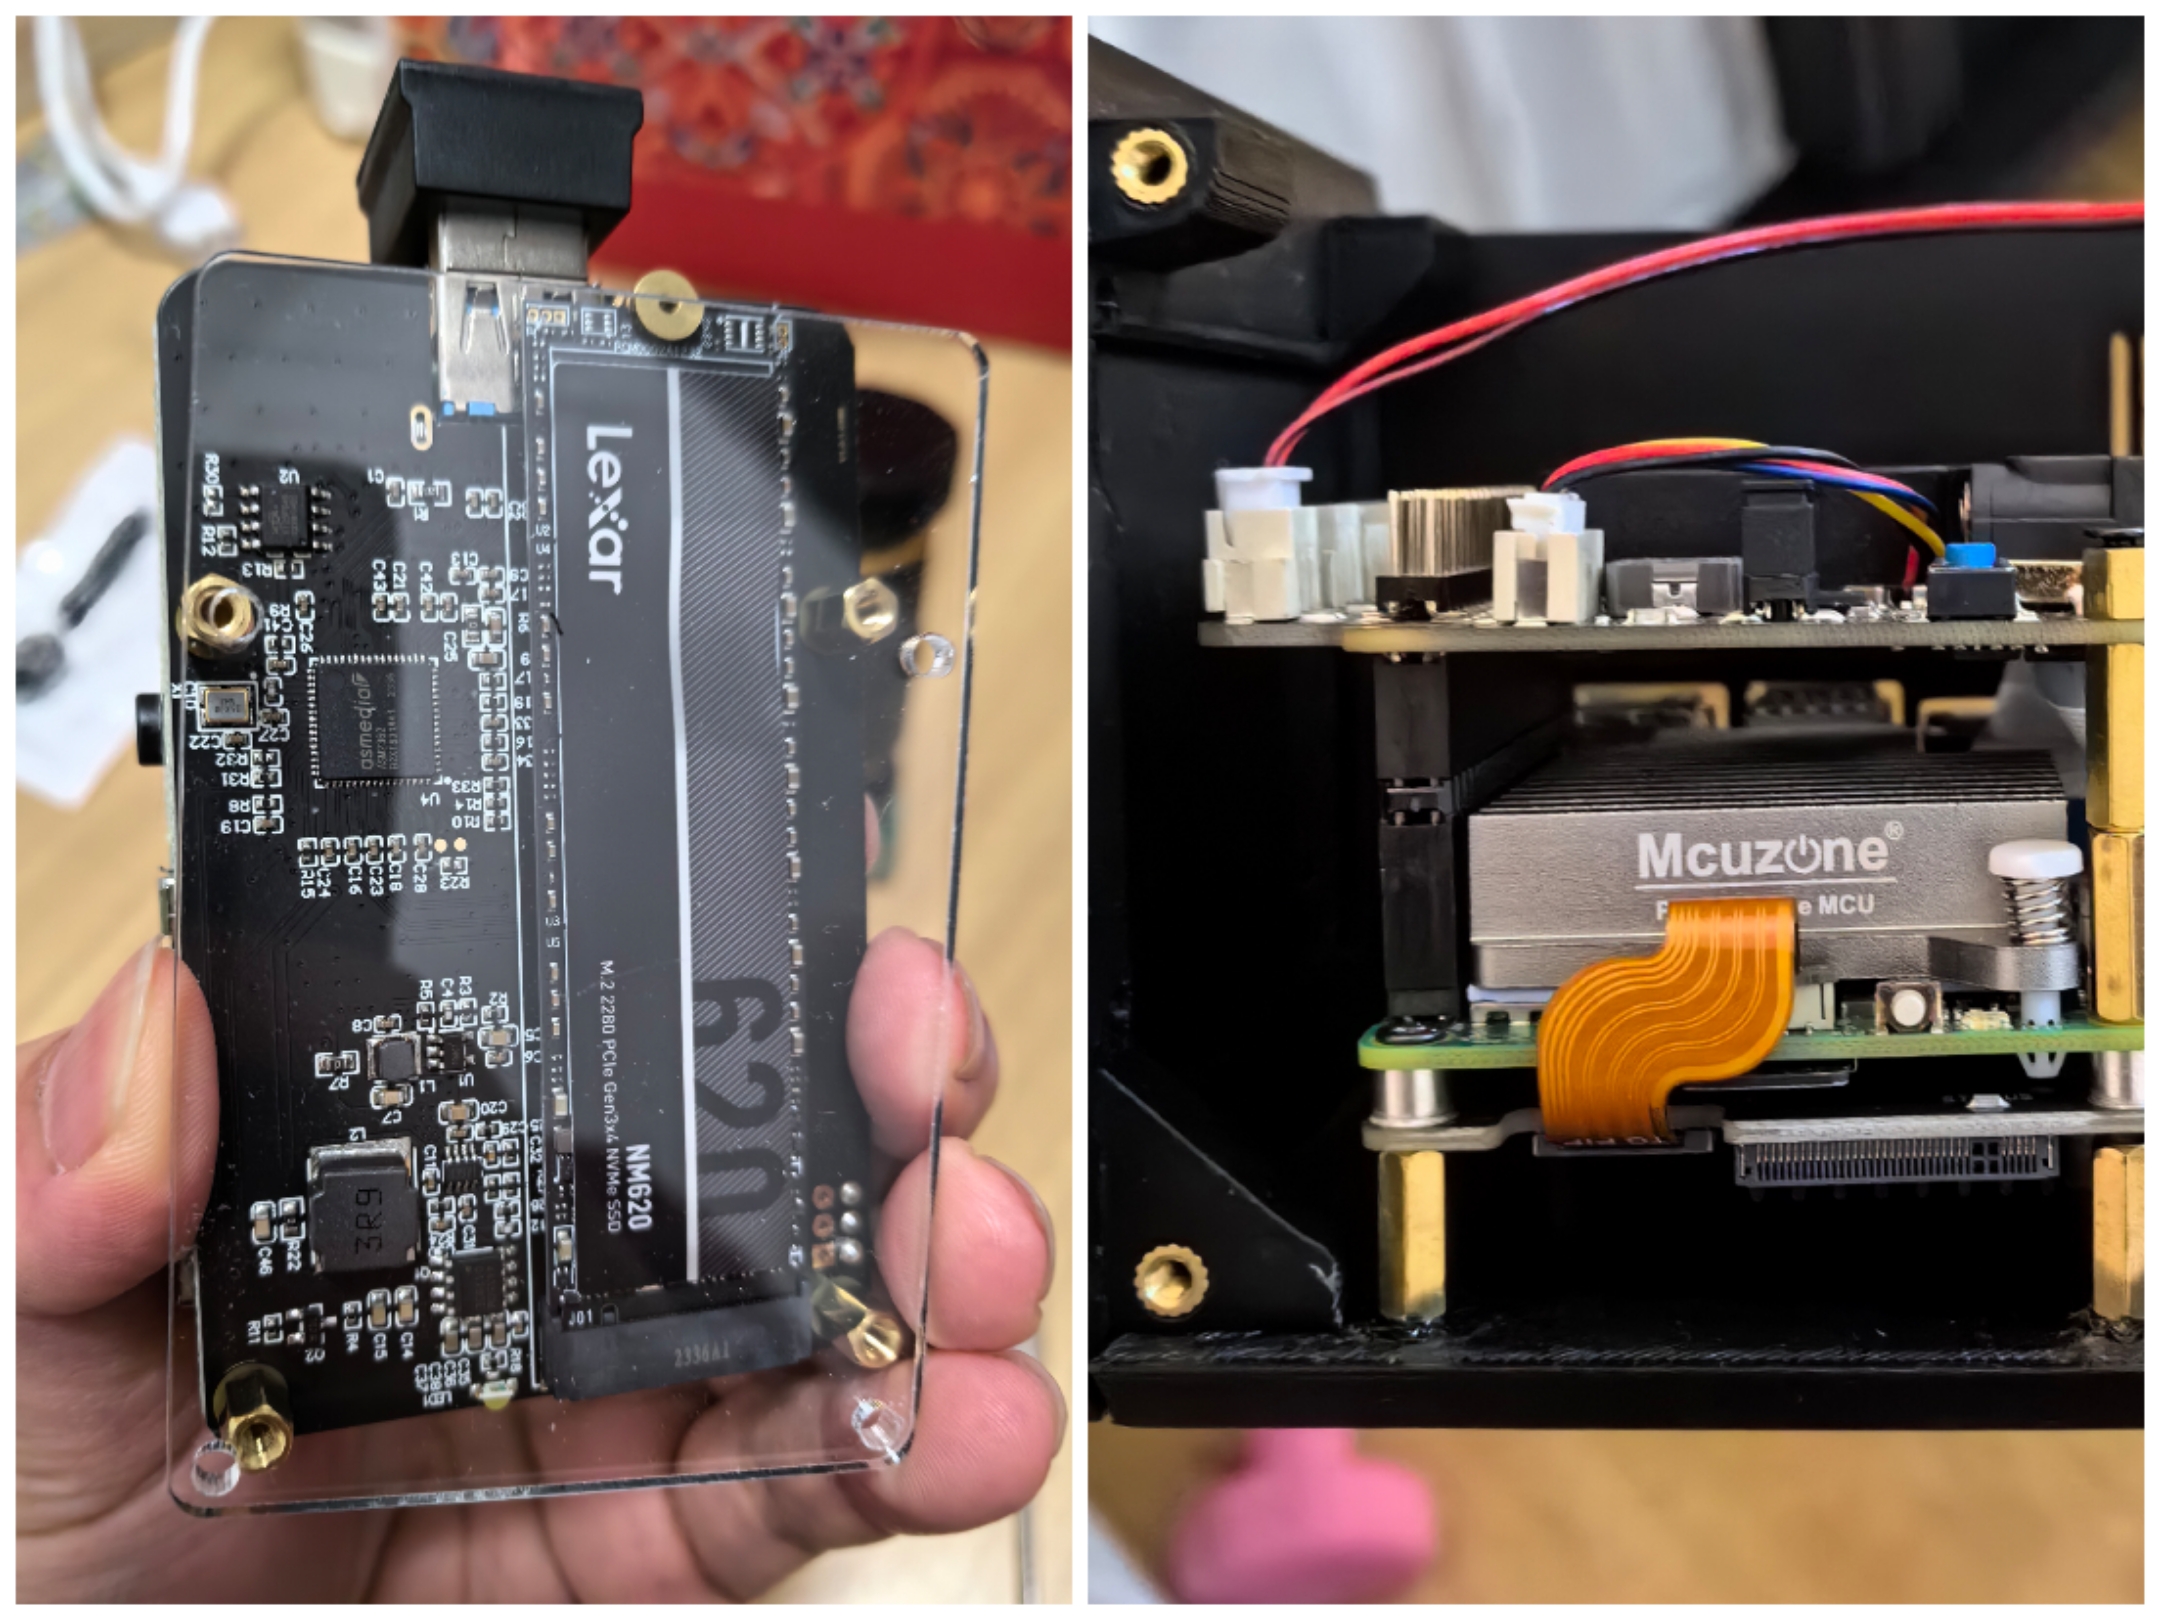
After Pi5's PCIE information has been published, there are many NVME SSD Hat on the market (like 52Pi, WaveShare, Geekworm and so on), all of which work well and have very fast read and write speeds.
But I actually don't recommend this way for Cine Fox.
I have also used this way for storage before, but it is very inconvenient because you need to consider how to transfer the files to the computer for editing. Whether it is network file sharing or using file transfer software, it is very slow. And I cannot quickly remove the NVMe SSD to replace another one.
Of course, if you have a way to solve the problem of convenience, then this method is also suitable for you.
Usage
- Install hat and NVMe SSD, then run
sudo nano /boot/firmware/config.txt# Enable the PCIe External connector.
dtparam=pciex1Press Ctrl-O, then enter, to write the change to the file.
Press Ctrl-X to exit nano (the editor).
- run command
sudo fdisk /dev/nvme0n1You can see commands by m.
Choose “n” to create a new partition, then “p” then “1” to create a new primary partition.
Just use defaults, or just press enter when you asked about sector numbers.
Then “w” to write the data to the disk.
(in my case I did't need "w")
- make file system
# reference site shows /dev/nvme0n1p1 but in may case, it was /dev/nvme0n1
sudo mkfs -t ext4 /dev/nvme0n1p1
You can pick which file systems you want, but ext4 might be the best, I think.
- make mount point
sudo mkdir /media/RAW
sudo chmod 777 /media/RAW- mount
sudo mount /dev/nvme0n1p1 /media/RAWDone!
👆 Part of the above content comes from here, thanks to this article
Mount SSD when Boot
After creating the partition, you only need to execute this command. You can add it to the service or use crontab to complete it.
sudo mount /dev/nvme0n1p1 /media/RAW